

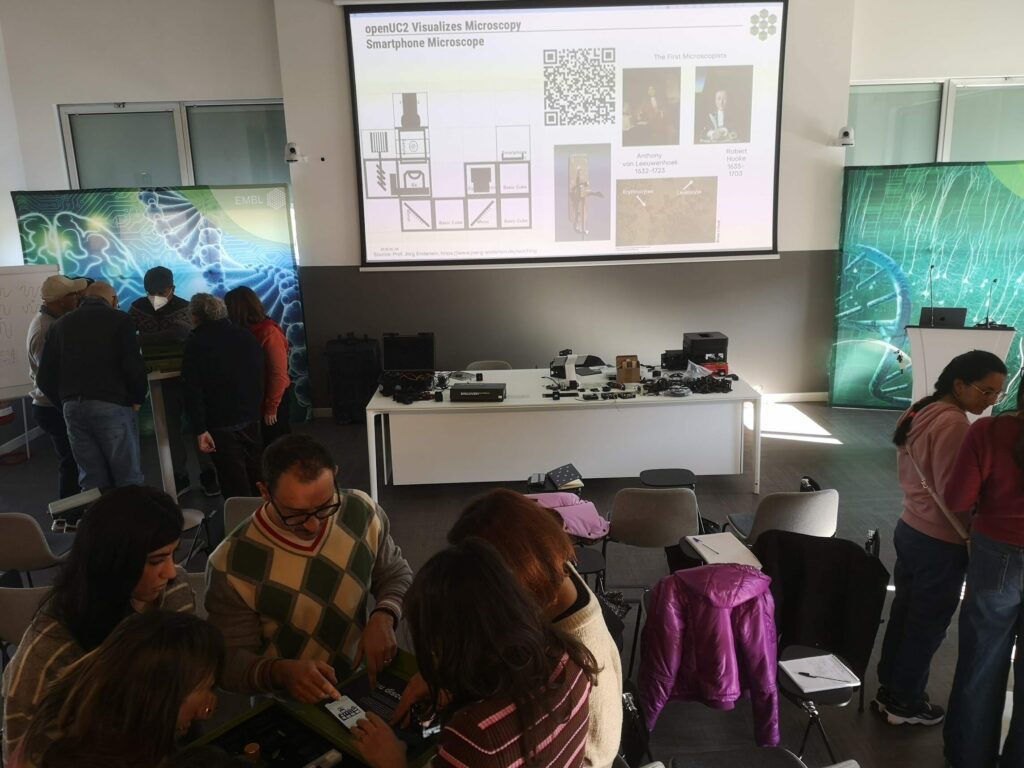
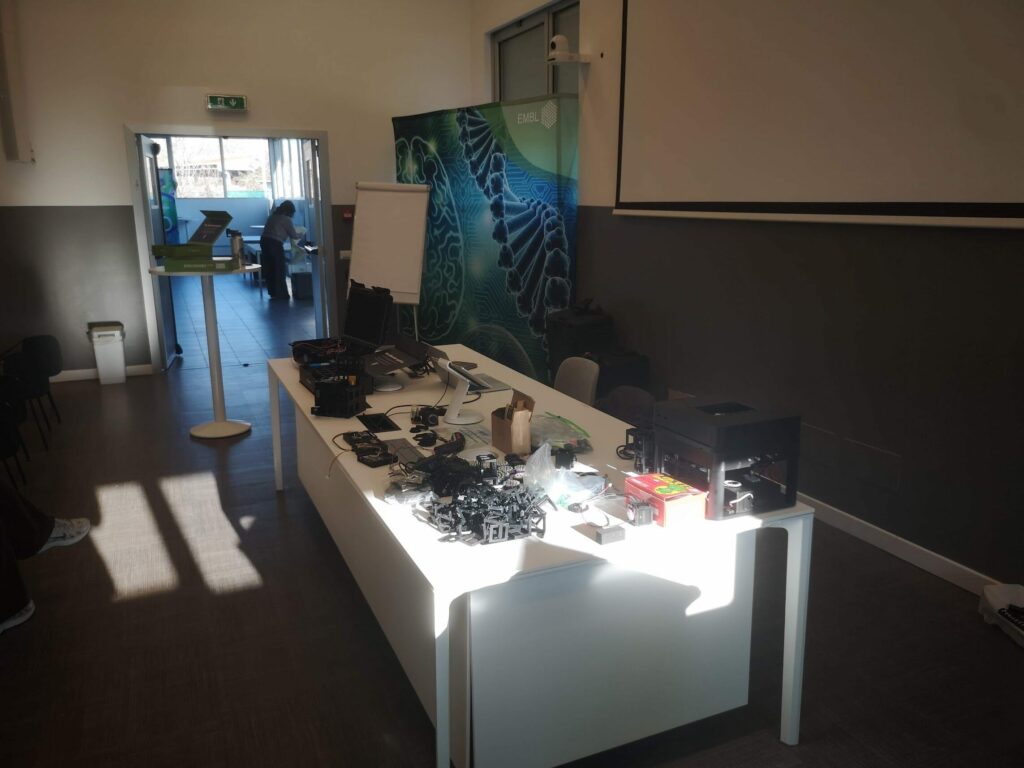
A 15-hour train ride from Jena to Rome, two boxes packed to the limit, and a room full of curiosity: that was the starting point for our hands-on workshop on modular, open-source microscopy. We brought a small “microscopy zoo” to the bench: a light-sheet build, a FRAME setup, three CoreBox smartphone microscopes, HoloBoxes, and plenty of optics and tinkering parts. Within minutes, everything was on the tables and in the hands of around 20 highly motivated participants, students and staff, all eager to go from first principles to working instruments.
What made the workshop special was the mix of backgrounds. Biologists pushed for “how do I get a meaningful image of my sample today,” while physicists challenged every assumption about the optical path. That tension was productive: it kept us honest, and it kept the builds grounded in real constraints like alignment tolerance, repeatability, and what a workflow looks like after the excitement of the first image.
The program at a glance
We structured the two days in a repeating pattern: introduction, theory, experiment, DIY. The flow let everyone immediately apply concepts and then modify the system with their own ideas.
- Open microscopy: goals, safety, workflow
- Optics basics and “what is light” with lots of experiments
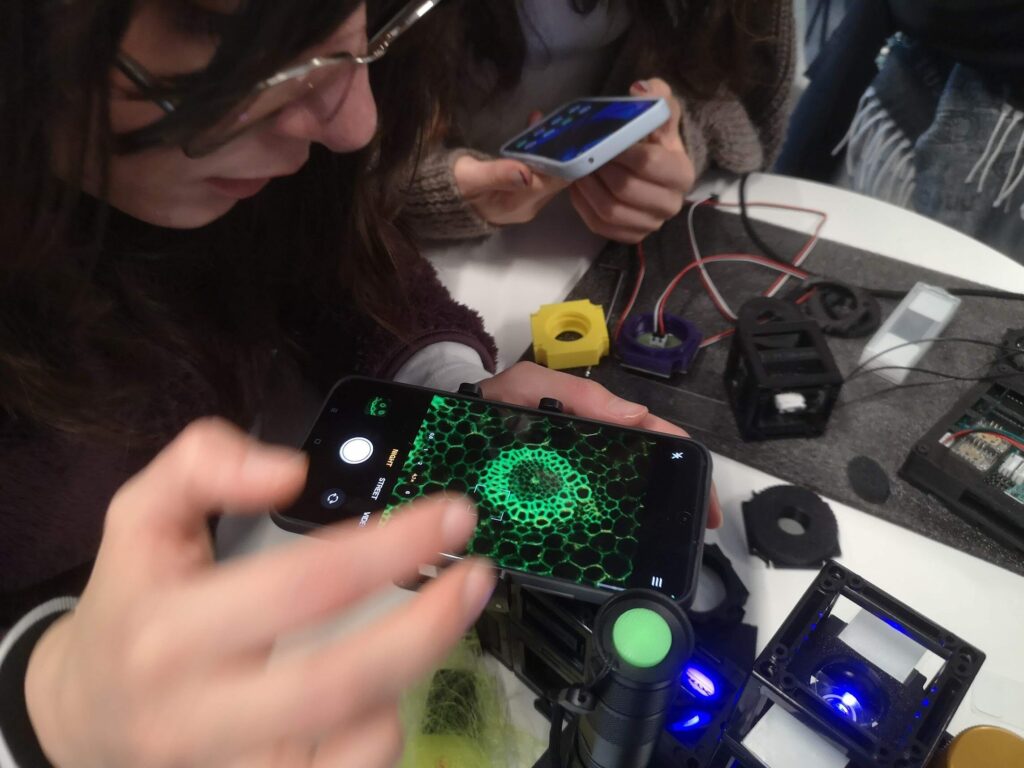
- Smartphone microscope build
- Contrast mechanisms: polarization, epi illumination, Zernike phase contrast concepts
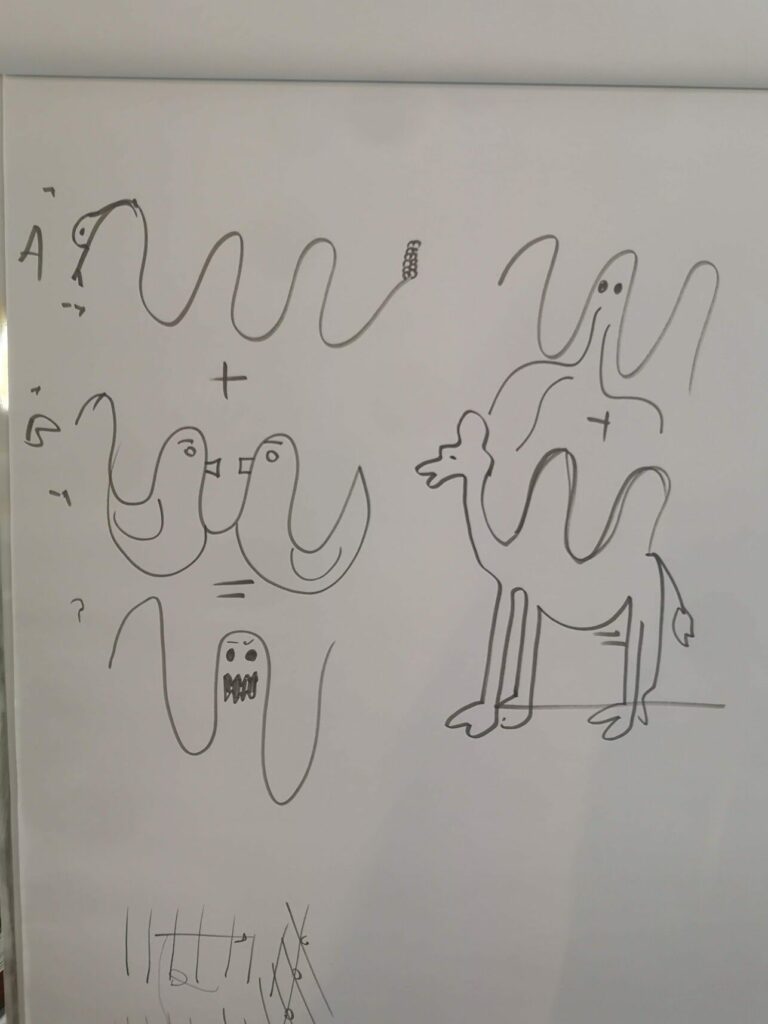
- Design session
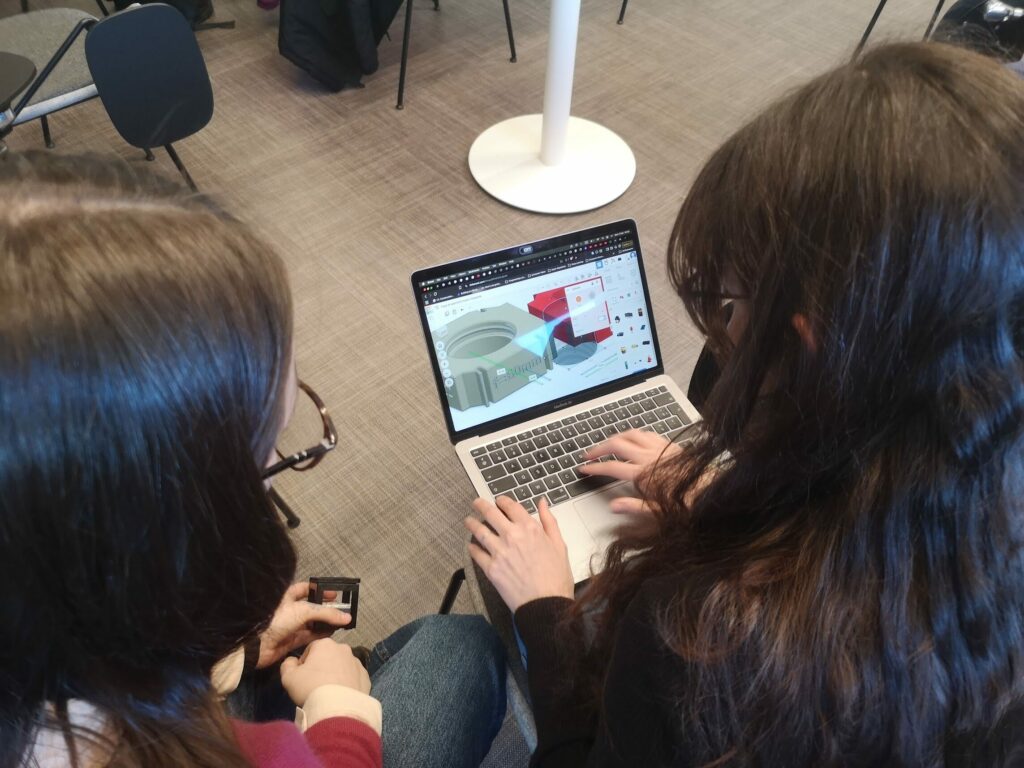
- CAD tutorial: getting optics into the cube format
- configurator session: mapping an optical diagram into cubes (including ray-tracing previews)
- 3D-printed inserts: lens, mirror, filter, polarization modules
- Firmware and control
- WebSerial, UC2-REST, Python serial control
Then we continued into software-driven microscopy and advanced modalities:
- Cameras and stage control
- ImSwitch via RaspiOS
- Smart microscopy workflows (timelapse, scanning patterns, repeatable acquisition)
- Fluorescence microscopy
- extend the smartphone microscope with fluorescence LEDs
- control via Raspberry Pi and ImSwitch
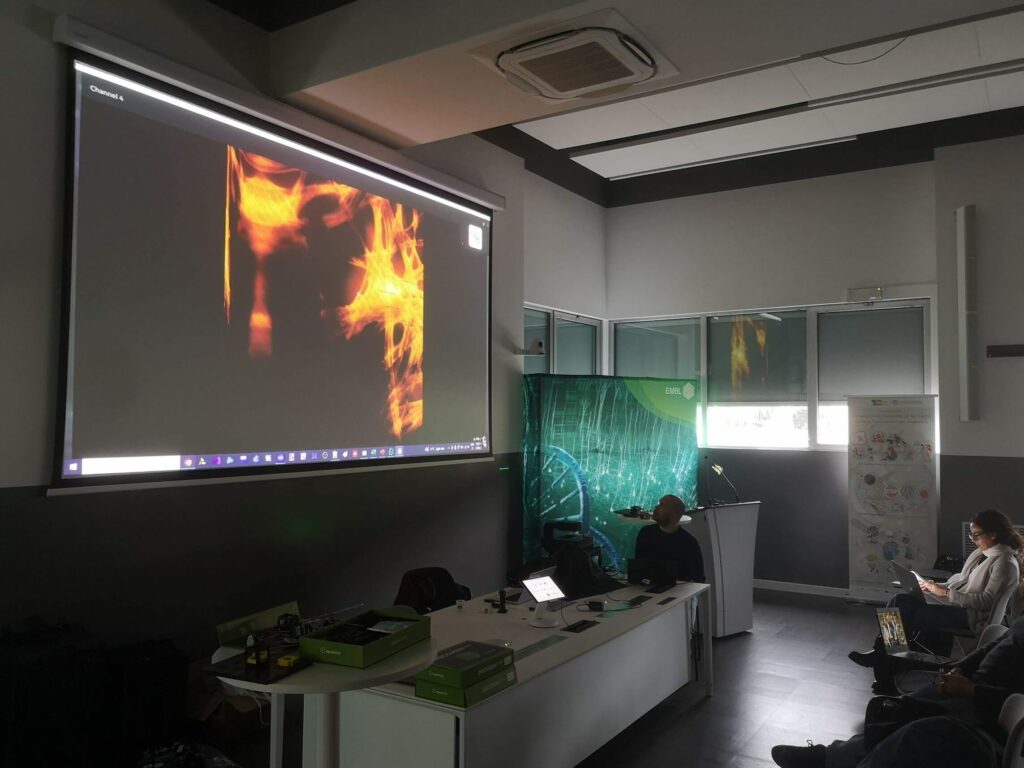
- Light-sheet microscopy
- fundamentals, build-from-scratch alignment, 3D data export
- openUC2 FRAME
- inner-cube brightfield build
- “Confocal-like” laser scanning microscopy
- galvo control
- optical setup to working build
The workshop mood: build first, then refine
There’s a moment in every build session where the room goes quiet: the first time a team sees a crisp image, or a contrast trick suddenly makes a transparent sample pop. That happened repeatedly. People started with a smartphone microscope, rebuilt it into epi reflection, tried polarization, played with oblique illumination, and debated what “good contrast” really means for a cheek cell. The CoreBox format turned out to be a perfect playground because changes are fast, visible, and reversible.
The configurator session became a second kind of “aha.” Once participants saw that you can plan an optical path and map it into physical cubes, the builds shifted from trial-and-error to intentional iteration. The ray-tracing preview helped teams reason about why a modification should work before printing or assembling anything.
Designing inserts: fast iterations, real constraints
The design sprint was where the engineering instincts came out. Measuring a random lens, designing a simple holder, printing it, realizing a tolerance mismatch, then fixing it and printing again: that loop taught more than any slide about manufacturing ever could. Inserts for mirrors, filters, and polarization were especially popular because they immediately enable new imaging modes.
One highlight was the jump from “microscope as an object” to “microscope as a platform.” Several participants designed additions that weren’t just mechanical, but workflow-driven, like adding a motorized axis for focus automation. That’s exactly the kind of extension we want: not a fragile one-off, but a small module that can be swapped, repaired, and upgraded.
Control and software: from manual knobs to reproducible workflows
On the control side, WebSerial made the barrier to entry extremely low: open a browser, connect, jog a stage, run a tiny scripted move. From there, Python serial control helped participants understand how automation patterns emerge: position lists, repeatable scans, logging, and simple “smart” routines.
Moving into ImSwitch on a Raspberry Pi connected the dots: once camera, stage, and illumination are synchronized, you’re no longer just taking pictures. You are running an acquisition. Timelapses, z-stacks, and scan routines stop being “advanced features” and start being the default way you work.
Light sheet, FRAME, and the big question
Light-sheet microscopy was intense in the best way: optics, alignment, mechanics, and software all meet at once. The payoff is immediate when the first small 3D stack appears and you can export data as a volume instead of a single frame.
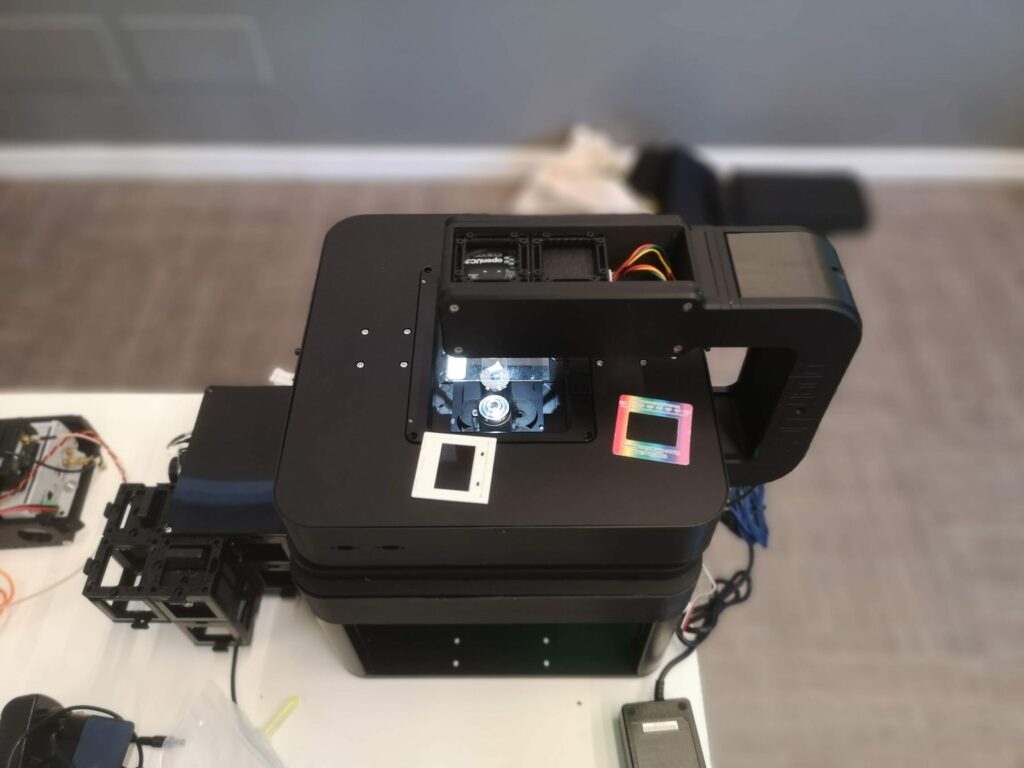
And then there’s FRAME. We kept coming back to a hard, honest question:
Why do you need our microscopes, especially something like the FRAME system?
It’s too expensive to compete with ultra-frugal builds. At the same time, it might not yet be “proven” to match every high-end application out of the gate. That tension is real, and it’s worth stating openly.
One participant phrased it perfectly: most of the time you don’t need a Ferrari to get from A to B. What you need is a durable, reliable vehicle that survives a long trip, can be repaired along the way, and doesn’t lock you into proprietary parts or service loops.
One FRAME Microscope stays with Alessandro from FLIMLabs now. Let’s make FLIM accessible, available and affordable to everyone!!
That’s the goal we’re aiming for. A platform that handles long journeys even when the road changes, highway today, off-road tomorrow. If something breaks, you replace the module. If a better motor exists next year, you upgrade it. If your experiment changes direction, you reconfigure rather than restart from scratch. The “value” isn’t only peak performance, it’s staying useful over time while remaining understandable and fixable by the people who depend on it.
Thanks and what’s next
Totally exhausted, but genuinely happy. Huge thanks to Alvaro Crevenna for organizing and keeping the energy high, and a big shout-out to everyone who showed up ready to learn from first principles and then immediately break the rules creatively. Also, good luck Gabriel Moya (seemed like the weather was in his way. Icy Berlin..).

New documentation is already online and more will follow as we turn notes, photos, and builds into reproducible tutorials.
Resources
ABBE experiment: https://openuc2.github.io/docs/Toolboxes/InfinityBox/ABBE/


Laser scanning for the FLIM LABS system (collaboration with Alessandro):
https://openuc2.github.io/docs/Toolboxes/GalvoBox/LaserScanner/